Sunday, December 30, 2012

Fish and Chips

So, B/N now has a food truck.  Which is an awesome and wonderful thing.  In a town where if a new chain restaurant opens people will wait in line for hours to get a table, it's nice to see a locally owned place get as much good press as this place does.  The truck is called Two Blokes and a Bus.  These guys have renovated an old British double decker bus into a restaurant on wheels.  One of the owners is a transplanted Brit, so it makes total sense.

One of the dishes they were running over the past several months was the British classic, fish and chips.  Knowing that this dish was coming up on my menu I wanted to give the Blokes' fish and chips a try.  But when I went I had just enough cash to cover the menu price and not knowing if tax was included or not I went with something else. 

I'll be honest, deep fried anything is always a good thing, deep fried fish and potatoes are even better so I knew I was going to love this one from the start.  These days it seems like all I use my nice Le Crueset cast iron pan for is deep frying.  Oh well, Bloomington cardiologists will love me later on in life. 

 You all know what potatoes look like so I didn't take any pictures of the mise.  I cut two potatoes into fries.  My mom will probably be upset with me, but I tend to do this with a knife and not with my fancy schmancy mandoline.  Partly because the mandoline takes some effort to get out of the cabinet, but mostly because even though I've had it for 2 years, I can't figure out how to use anything but the straight blade.  The thing came with four different serrated blades and it is completely counter intuitive on how to attach them to the assembly.  So I use a knife when I want fries.  Besides, knife work like this helps keep me sane at times.

The first step was to par fry the fries.  To do this I heated the oil to about 275 degrees and then dropped the potatoes in.  I let them go until they just started to turn brown around the edges.  Once they were par cooked I pulled them out, salted them and let them cool while I prepped the fish.  Note, turn off the oil at this point, you don't want the culinary equivalent of an IED sitting on your stove.


 The stuff for the fish.  Cornstarch, flour, cayenne, paprika, baking powder, salt and pepper and a british beer, in this case Newcastle.  Oh and the star of the dish, cod.  Cod is certainly a classic but you can use just about any white fish for this, though I wouldn't recommend anything super expensive like Sea Bass, which was the other white fish the store had when I went shopping.

On the side, I mixed the flour, cornstarch, baking powder and beer, and then seasoned the fish with the cayenne, paprika, salt and pepper.

Once the oil had heated up to about 350, I coated the fish in the batter and then dropped them in the oil and let them cook for about 3-4 minutes. 

Once the fish was done the potatoes went into the oil to finish cooking.

This is where the mistake began.  A classic side for fish and chips is mushy peas, nothing wrong with that.  The problem is I didn't even start on this until after everything had gotten done frying.  the ingredients for the peas include, frozen peas, cream, butter, salt and pepper.  The peas cooked in a bit of salted water until tender.

Then the whole mixture went into a blender until it looked like baby food, pretty sure it tasted better though.

Here is the completed heart attack on a plate.  Everything was delicious, I just wish I hadn't stopped to make the peas.  The delay resulted in both the fish and fries cooling off and getting soggy, not the crispy fried deliciousness you'd expect.


Tortas

So with the holiday, my cooking (and blogging) schedule has been a bit messed up.  I got to the store for this week on Wednesday night, so that's when I made this simple version of a Mexican sandwich. 

So this is everything you need for this meal.  Flour tortillas, pepper, olive oil, oregano, monterey jack cheese, goat cheese, and salt.

Everything but the tortillas and the olive oil got mixed up for the filling.

Each of the first four tortillas was topped with a bit of the filling.  Then the final tortillas went on and was brushed with some olive oil and on a whim I sprinkled some ancho chile powder over the top.  The whole thing went into a 500 degree oven for about 5 minutes.

This was the final result. Was it good?  Yes.  Was it easy, perfect for those busy nights?  Yes.  Would I make it again?  Probably not, unless I included some animal protein in the filling.


Saturday, December 22, 2012

Alinea at Home: Shrimp, Yuba, Orange, Miso

So for those of you who know me really well know that I'm an uber planner.  I work best when I know exactly what I'm doing and when.  So, I really got thrown for a loop when I had planned to do this dish last weekend and then as I thought I was ready to make it last  Saturday night I realized I needed about 36 hours to prep some of the stuff.  Oops.  So, I pushed it off until this evening.  It was definitely worth the wait.

The first step was to start the prep of the soybeans, which was the step that I didn't realized took so long.  The beans needed to soak overnight in some water.

The beans hit their watery grave.

 Once the beans had soaked the whole mixture went into the blender in order to make soy milk.  The next step was to simmer the mixture until a skin started to form on the top of the mixture.  This process is very similar to when you make a cream sauce without stirring it.  Dairy always forms this protein skin when left alone over heat.  Once the skin had formed I had the wonderful task of trying to pry it off without breaking it in order to form the yuba sticks.

 Here are the four sticks that I managed to successfully make.


I let the sticks dry at room temp then they went into a 170 degree oven for about 90 minutes to completely dry out.

 While the yuba was in the oven I made the red miso mayonnaise.  This is red miso paste, sugar, paprika, grapeseed oil, egg, lime juice and salt.

 Here is everything except the red miso past and paprika. 
Finally the whole mixture came together to form a mayonnaise.  I'll be honest, I'm not sure what I had was actually red miso. I think it was a little too spicy to be the real deal.  Oh well, it had the right effect on the dish.


Now this for the orange piece of the dish.  I made a simple syrup of sugar and water then took the rind off the orange and candied it.

Once the syrup had come to a boil, the orange peel went in until I was ready to use it.


 Now time to put everything together.  We have the red miso mayonnaise, candied orange peel, shrimp and the yuba.  The first step was to fry off the yuba skins in some oil.  I didn't take pictures of it but it worked out alright.

 I then took a pairing knife down the middle of the shrimp from the head end to tail end, making sure to not cut all the way through.  The bisected shrimp were then wrapped around the yuba and then went under a pre-heated broiler.

 Here is the concoction after spending about 3 minutes under the broiler.

The completed plate.  This was the best looking one of the four so I took its picture, I actually ate all four.  Overall and good dish.  I probably should have put some salt it places other than the mayo because the heat overtook any saltiness.  I didn't season the yuba or the shrimp so the flavor was a bit flat.  Would this be something I make again, probably not, but definitely something I would like a chance to try at the restaurant sometime.

Simple

It's been a strange week here in my house.  Been busy at work, plus haven't had much to cook after one of my planned recipes got nixed due to the primary component not being in season.  Oops.  Monday I had leftovers, I made these potato tacos on Tuesday, Wednesday leftovers, Thursday was supposed to be my brother's birthday which the weather cancelled so leftovers.  Now that it's the weekend, I'm planning on getting back in the kitchen.  I cooked last night, which will be the subject of a blog later on, I'll have an Alinea at home post for you maybe later today (a week late I know, I'll get into that later) and then I'll make dinner again tomorrow night. 

Anywho, on the real reason that you're here, the food. 

 So here's the stuff for the taco fillings.  Potatoes, olive oil, monterrey jack cheese, flour tortillas and a bit of ancho chili powder. 

 In order to cook the potatoes I roasted them off whole in a 400 degree oven for about 45 minutes after seasonoing them with a bit of salt and pepper.

 While the potatoes were roasting I prepped the poblano sauce.  Poblano peppers, spinach, lime, onion, honey salt and olive oil.


This is example #3,358,259 why I had to have a gas stove when I bought my house.  I roasted off the peppers by just setting them over the open flame for about 10 minutes.  What you see here, probably would have taken an hour under the broiler. 

So once the peppers were done, I peeled the blackened skin off and pureed all of the ingredients in a blender and this was the lovely result.  Honestly, I was a bit scared of this sauce.  Poblanos are supposed to be a pretty mild pepper basically between a bell pepper and a jalapeno on the heat scale, but I've had some not so pleasant experiences with them.  I made this hoping it wouldn't set my mouth on fire.  Thankfully, it didn't.

Next step was to prep the tacos.  I took the flour tortillas, put cheese on 1/2 topped it with some sliced potatoes, folded the tortillas over and then brushed a little olive oil on then a sprinkle of the ancho chile powder.  These babies then baked off in a 400 degree oven for about 5 minutes.


Here are the completed tacos.


This is the final plate, I probably should have put the sauce in a squeeze bottle rather than the spoon but oh well.  Either way, these were delicious.  Very simple to make for those nights where you're running around like crazy or when you don't get home from work until 5:45 and still need to go to the grocery store and then its suddenly 7 PM and you haven't changed your clothes yet. 


Sunday, December 16, 2012

Cioppino

I'll be honest, historically I've steered as far away from this dish as I've possibly could.  It mostly has to do with that the base of the dish is mussels and clams, which unfortunately are two of my least favorite ingredients on the planet.  Not sure what it is, but I just can't eat any bi-valves other than scallops.  Mussels, clams, and oysters are just out.  All of this is a bit hard to admit, since I've eaten fish skeleton at Alinea, and was really gung ho about the potential for more at Next.  I really like fish skeleton but I can't eat a freaking oyster.  Go figure.

All that said, I decided to soldier on through this recipe without the mussels, and in my very humble opinion it didn't suffer at all. 

The mise.  Yellow pepper, onion, salt, celery, carrots, tomato paste, wine, thyme, garlic, shrimp, flounder, lemon, chicken broth, whole tomatoes, red pepper flakes. fennel seed, and bay leaf.

The veggies were chopped up and went into a bit of olive oil to saute for a bit. 

Once the saute was completed the seasonings and the tomato paste went in until the tomato paste began to caramelize a bit.

Next up was the broth, lemon juice and tomatoes.  This whole mixture simmered for about 10 minutes to thicken up slightly.

Earlier I had cut the fish into smaller pieces and they went into the broth mixture at this point to cook.

Time for the shrimp.  Once the shrimp went in the whole mixture cooked for 2-3 more minutes before I killed the heat.

Cioppino is a classic dish to have on Fisherman's Warf in San Francisco.  Which ironically enough, San Francisco is a place I have almost zero desire to visit.  I'd be willing to go to Napa and eat at the French Laundry but San Francisco proper, meh.  It probably boils down to the fact that I can't get past to culture there,  too many hippies.

The classic side for cioppino is a sourdough crouton.  So here I have a sourdough loaf a bit of garlic and olive oil.

The croutons were spread with a bit of olive oil and the garlic and went under the broiler for a bit.   These are the completed croutons.

The final plate. 


Wednesday, December 12, 2012

Thanksgiving

I need to preface this post by saying, I did indeed go to my family's Thanksgiving and the food was outstanding as always.  However, one of my sources for recipes is a seasonal magazine which means in every November/December issue they include some sort of turkey or Thanksgiving meal.  So, of course when that recipe comes up I'm obligated to cook it.  Honestly, for as good as my family's Thanksgivings are, I kind of enjoy seeing if I can top my family's cooking.

 The first step was to make the cranberry, kumquat chutney.  We have, salt, cranberries, a granny smith apple, kumquats, ginger ale, and sugar.

 The first step was to combine, the cranberries, half of the kumquats that were pureed in the food processor, ginger ale and sugar.  The mixture simmered until the cranberries started to pop.  Apparently, I didn't get any other pictures, but after the mixture had simmered I let it cool and then right before I served the dish I added sliced the kumquats and diced the apple fine.

 The second step was to make the stuffing.  Here we have white bread that had been dehydrated in the oven, onions, an orange that had been pureed in the food processor, cayenne pepper, bacon, thyme and chicken broth.

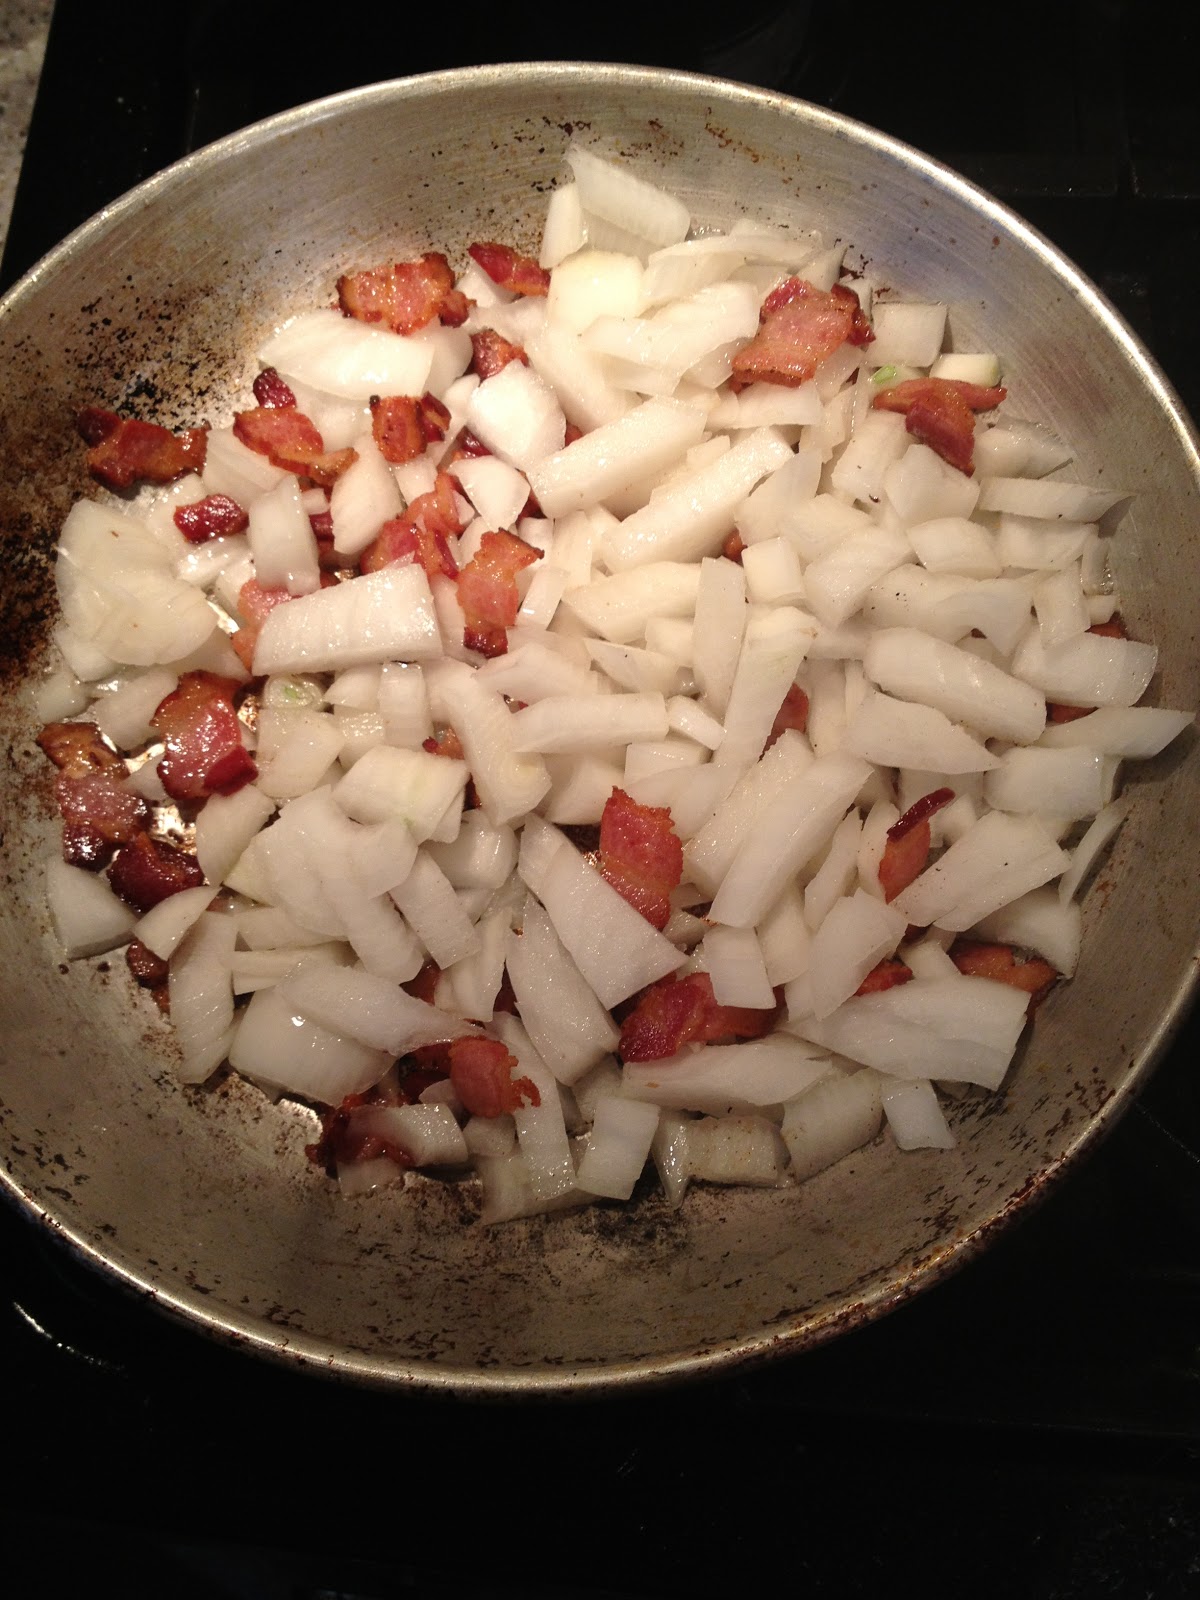
 I fried off the bacon and once the bacon was completed I added the onions.

 Once I had cooked off the onions I added the rest of the ingredients except the bread and chicken broth.

 I finished the whole mixture with some butter.  Once all the butter had been incorporated I put this mixture in with the bread and chicken broth mixture that I neglected to get a picture of.

 On to the gravy.  Celery, carrot, tomato Paste, flour, bay leaf, chicken broth, onions, garlic, turkey bones and apple cider vinegar. 
The first step to the gravy was to brown the turkey bones.

 Once the bone were done searing I added the veggies and tomato past and let them sautee for a few minutes.

 Now that the veggies were done I added the seasonings and the chicken broth and let the whole mixture simmer for about 30 minutes.
 Here is the completed gravy, that had been finished with a bit of apple cider vinegar at the last minute.

 And now for the star of the show, the turkey.  I had deboned the turkey breast earlier in the day.  The seasoning for the turkey was a simple salt and pepper.

 Once the turkey was seasoned I draped it over the stuffing and put it into an over for about 90 minutes.

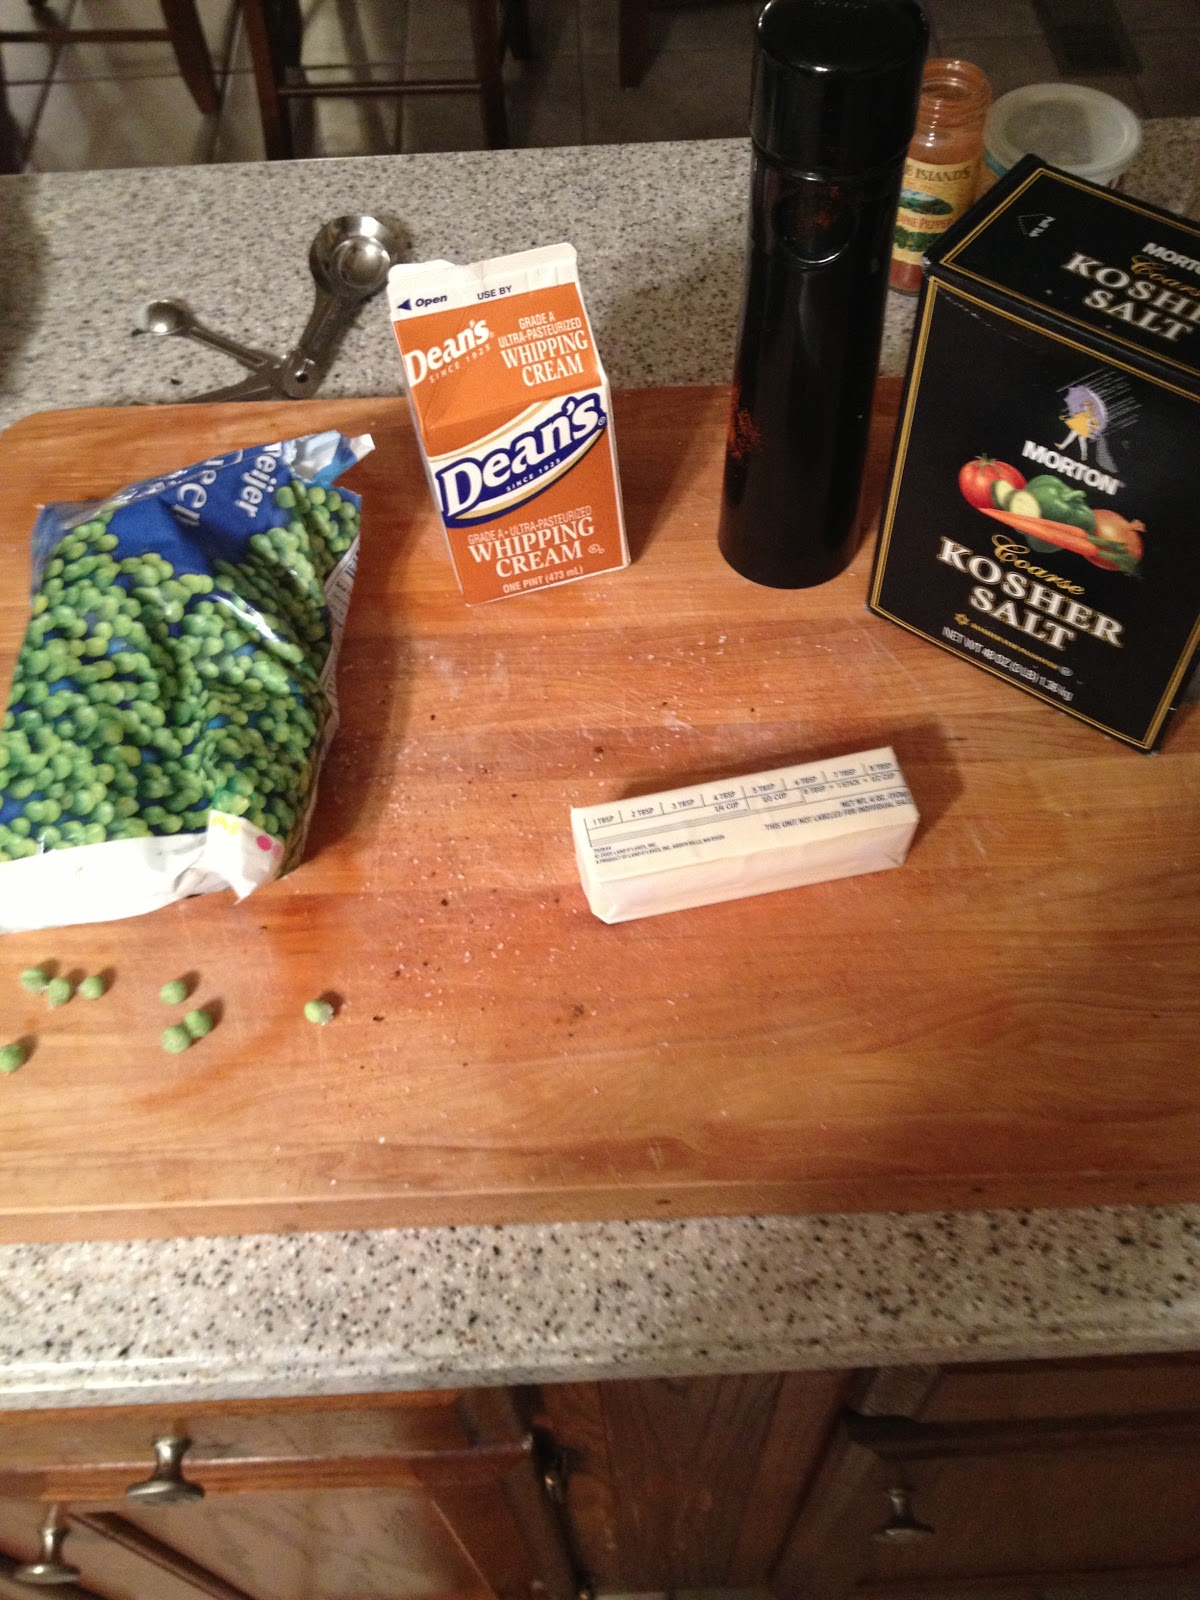
 The final side I put together while the turkey was in the oven.  This side is roasted brussels sprouts with a dijon cream sauce.

 I halved the brussels sprouts and combined them with sliced kielbasa.  These items were seasoned with a bit of olive oil, salt and pepper and then were roasted off in the oven.

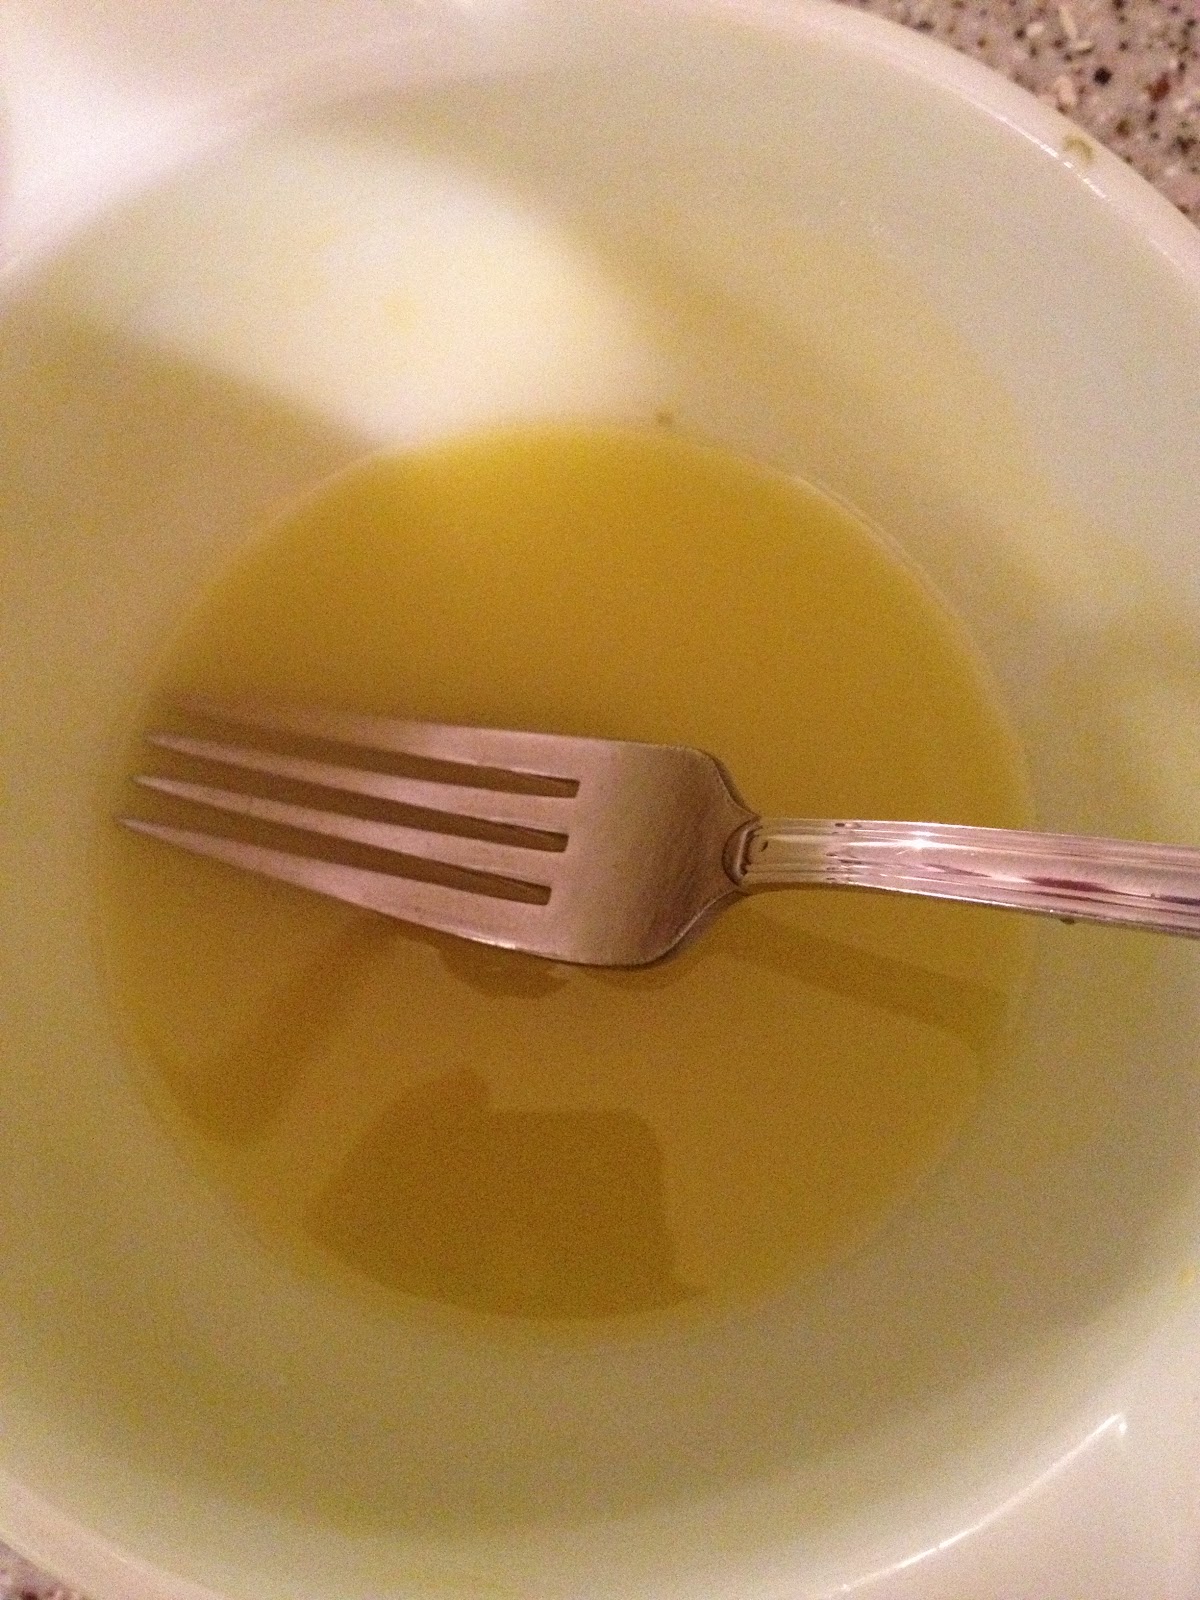
While the veggies and meat were roasting I combined the cream, dijon mustard, and honey to make the sauce.

The final plate.  I don't want to brag too much but I would put this up against anything that my family makes for Thanksgiving.